Make this easy Christmas bag in just half an hour!
We ditched the Christmas wrapping paper last year and went with fun drawstring bags for our presents. As long as the mice haven’t eaten them and I can remember where I put them, they will be reused until they fall apart.
Follow the pics to make your own Christmas bags. You will need: fabric, scissors, trim, cord for drawstrings, sewing machine.
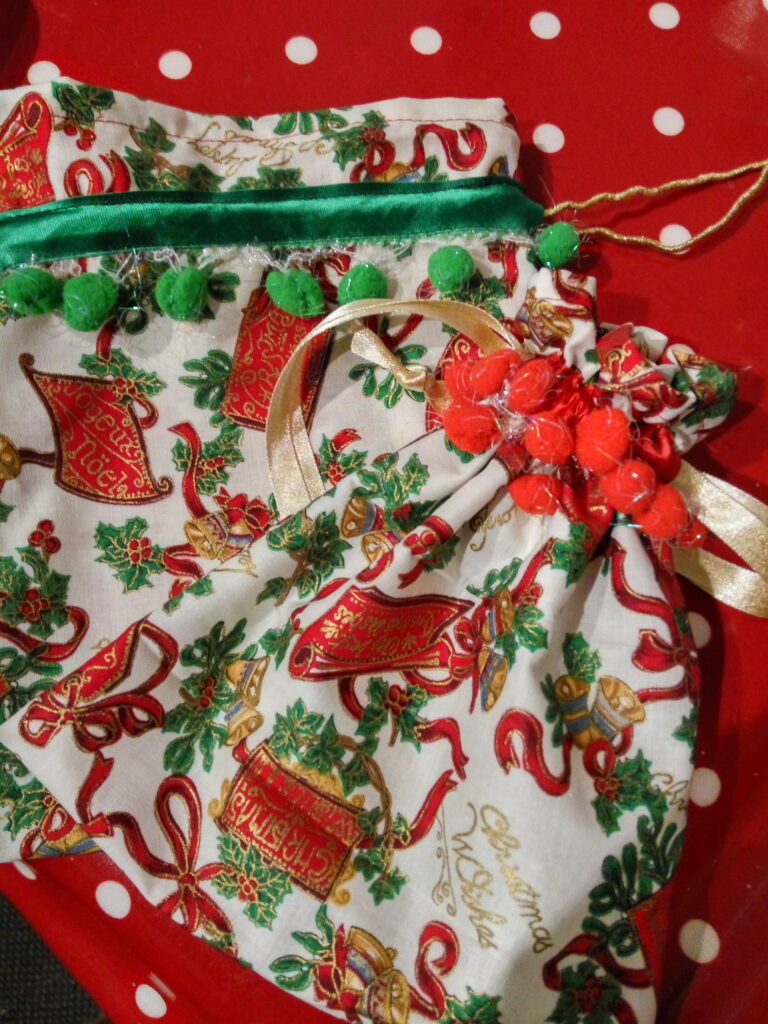
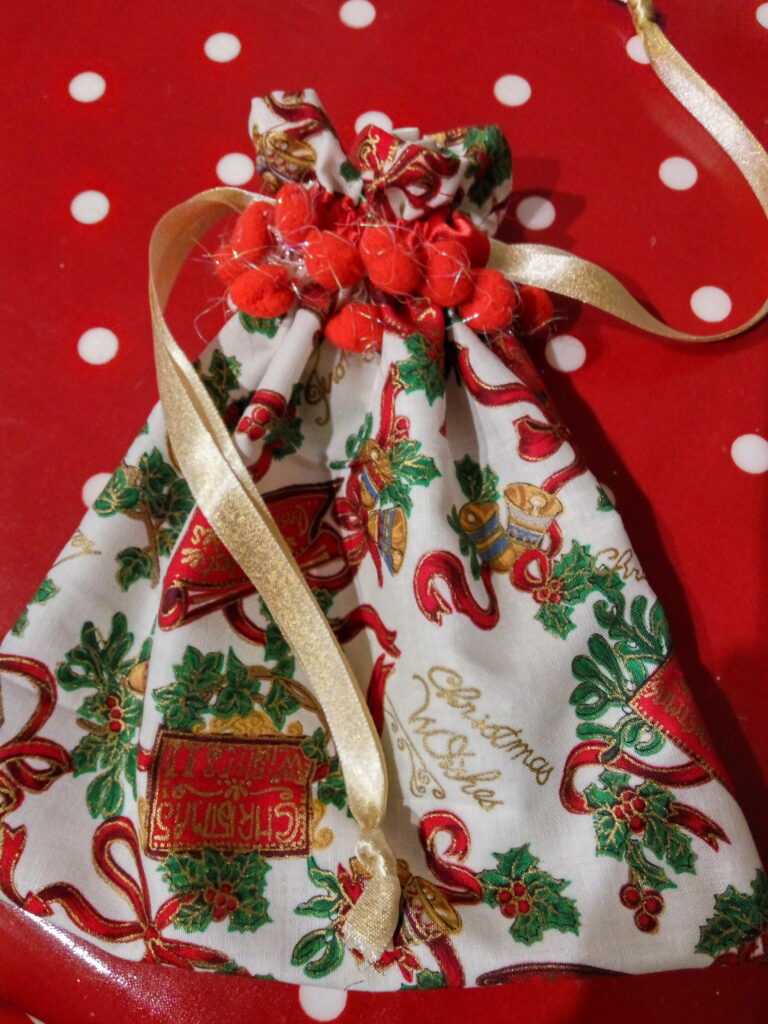
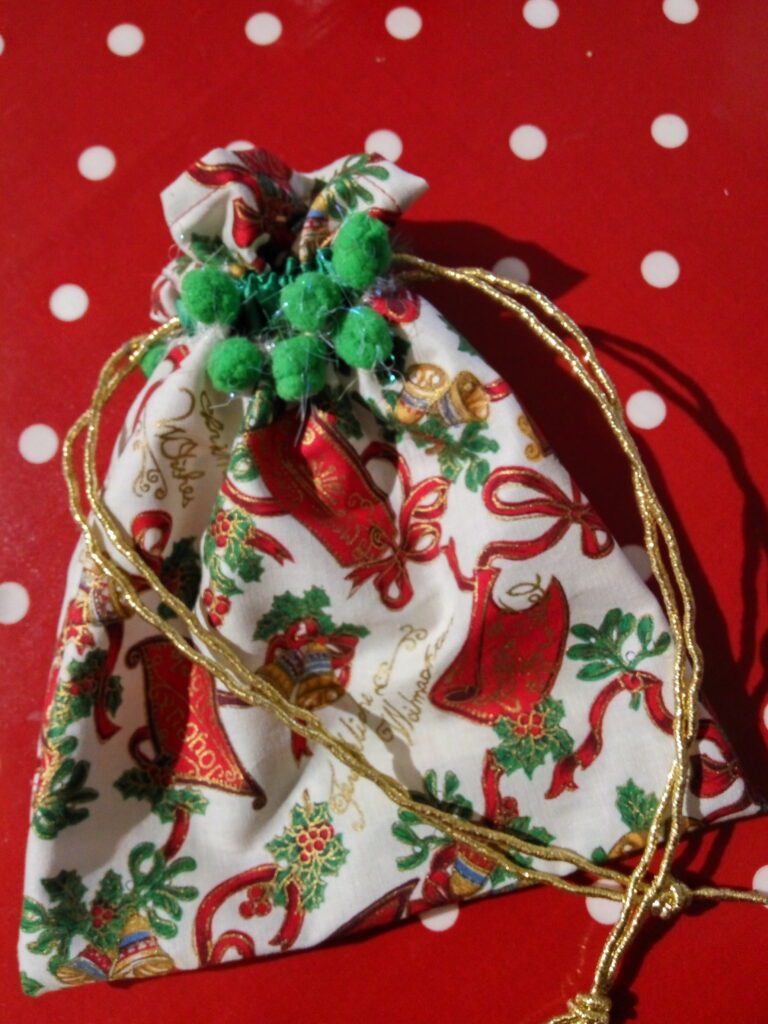
I used half a metre of green glitter cotton, 4 and a half metres of cord for the drawstrings, 1m of ribbon for the casing. You can decorate with fabric initials, pompoms, felt or anything you fancy.
Step 1
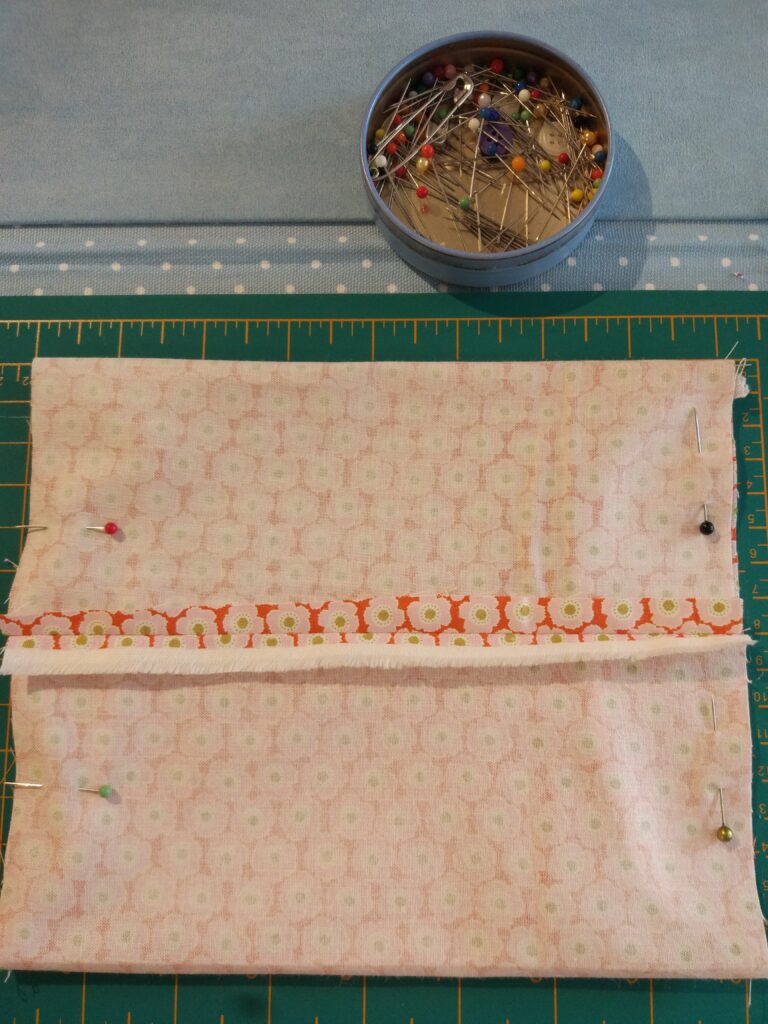
 I used glitter cotton fabric and sewed the seams up each side.
Step 2
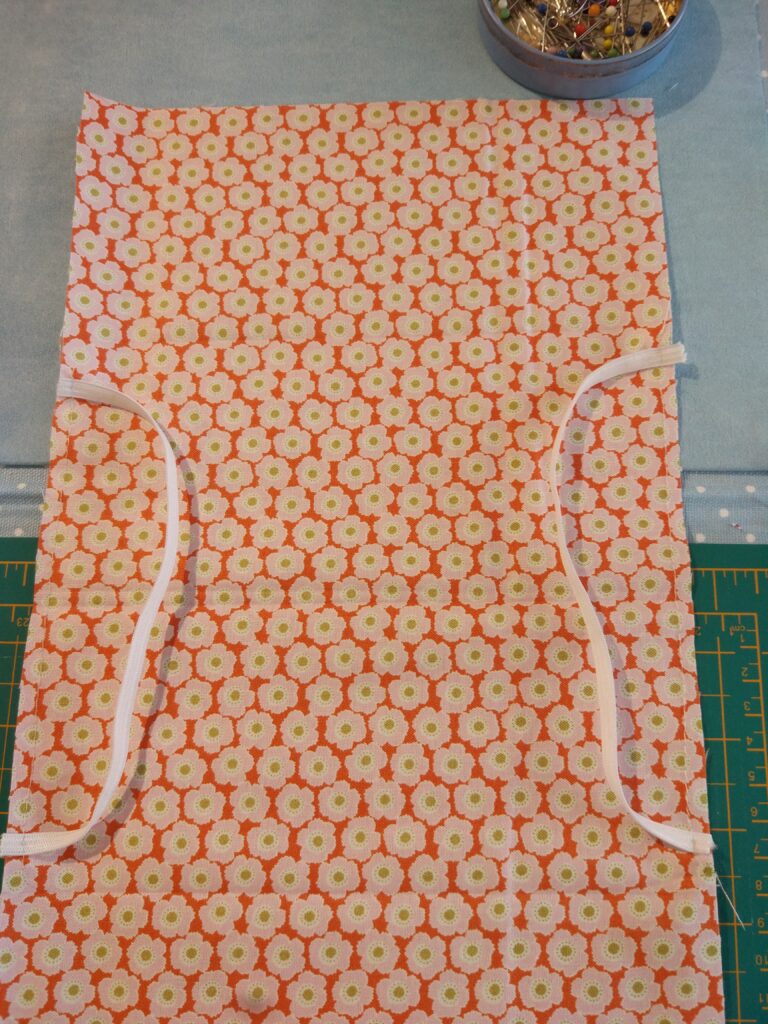
 Chose my trim and cord drawstrings. I like a pull cord from each side. You can save money and cord by only having one pull cord, like a school PE bag. Don’t forget to add another half metre as when the knots are tied it can get quite short.
Step 3
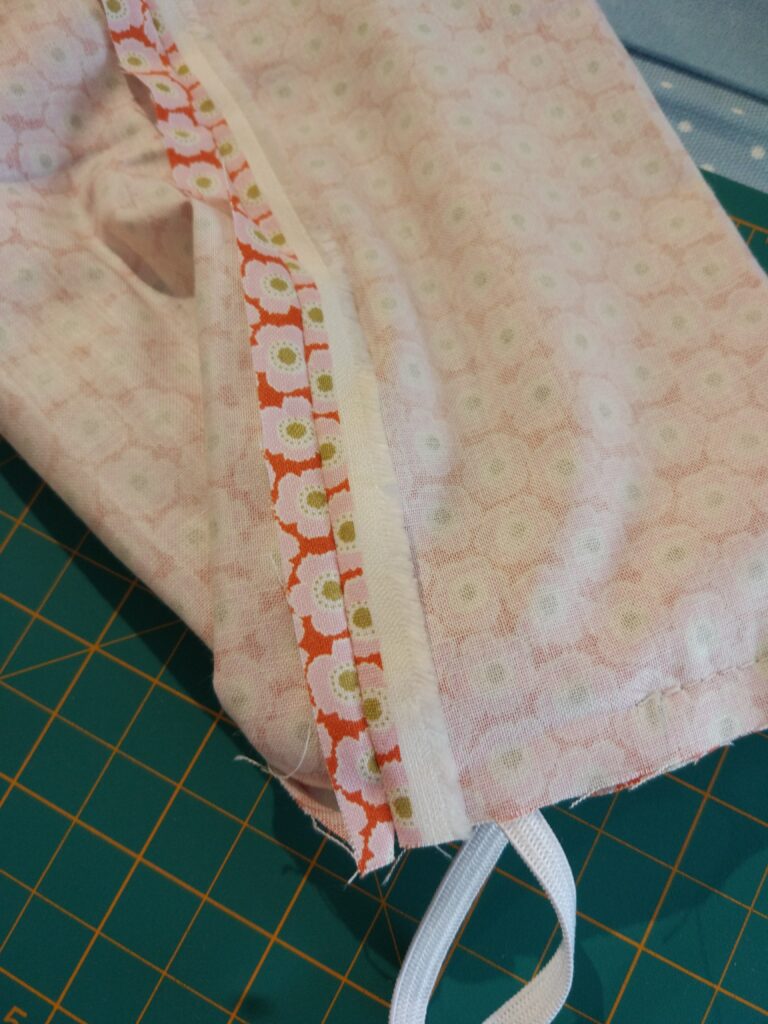
 I turned a wide seam over to the inside and stitched round the whole bag top to make a neat top. If you have plenty of fabric, turn it even wider so you can use this top seam for your casing and sew 2 rows of stitiching half an inch apart.
Step 4
 I used ribbon for my casing as it doubles as decoration. Stitch it around the top of your bag about 3 inches from the top edge.
Thread the cord through the casing. If you haven’t left a gap you can cut your ribbon to thread through. If you want to do it really properly, sew one casing on the front and another on the back, leaving a little gap for your cord to thread through.
 I usually run Christmas classes to make these and we had a blast last year with little versions of these. If you need any help just shout or come and see me! I have lots of Christmas fabric in stock.
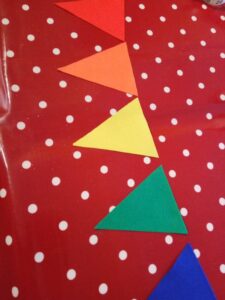 Cut out your felt triangles and arrange. Rainbow as shown, or go scandi Christmas with red, white and green, or celebrate a new baby with pastel colours. Cut as many as you need.
 Fold over the end of your tape to make a loop. This keeps the ends neat. If you need to tie it around something, use a seperate bit of string, ribbon or elastic band to secure.
 Fold the tape over to catch the felt triangle within the tape. Pin to secure. You could iron the tape in half if you wish for a sharper guideline.
 If you have a sewing machine, my top tip is to use a ZIG ZAG stitch to make sure you capture the binding tape on the reverse. I find it a total nightmare trying to catch the tape on the backside if i sew straight stitch. Of course if you are hand sewing, you should be able to turn your work and see where you are going.
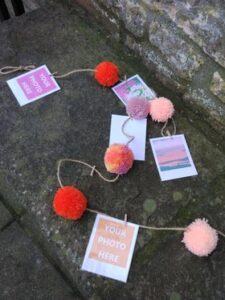 This pom pom garland is a lot of fun to make. You can put as many or as few pom poms as you like on your garland. This one, made by Freya has space and pegs for interspersing with photographs. What a great idea!
 These are wooden pom pom makers not the usual circular ones. Simply wrap your yarn around the forky bits and tie tight to secure.